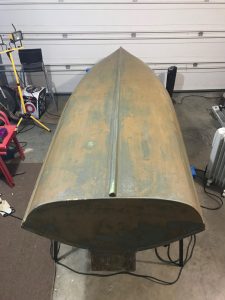
After a thorough clean and a a proper sanding job, two things had become clear. Firstly the outside of the hull was not in as bad a condition as I had thought, and secondly, there were a lot or divots, scratches and imperfections to fill up. I decided on a skim coat of epoxy for most of the underside.
Since I was using slow-setting epoxy, the same kind I used when building the longbow (see Building a Longbow – Part II ), I needed a source of heat the keep the epoxy well above room temperature while outside the snow was blowing and it was freezing hard. I went through a number of heaters. My electric ceiling heater overheated and started spewing smoke, and a heating fan motor just stopped. The plug of an electric radiator became so hot that it could only be used a few hours at a time. The construction lights proved the most reliable but they only covered smaller areas. (lights below are pointing upwards to reduce the glare for the photo)
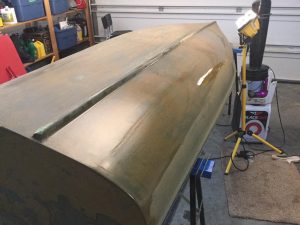
It took about a week to get the skim coats done, and a first layer of primer put on.
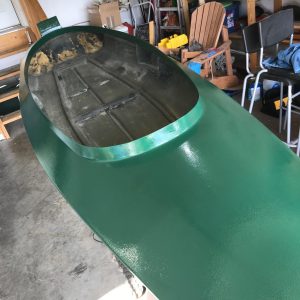
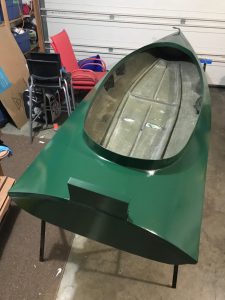
The next step was very satisfying: putting on a coat of paint! Not wanting to spend hundreds of dollars on a true marine paint meant for vessels that are in the water for long periods of time (like in a harbour), I picked paint that was meant for surfaces exposed to water, but not necessarily submerged all the time. The outside of the boat looks like the million bucks I didn’t spend, once done.
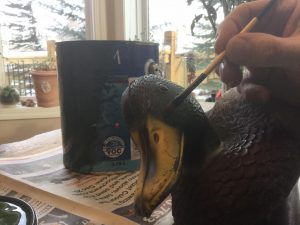
I used the same green to touch up some mallard decoys.
The inside of the boat still needed a fair bit of work (see Part III)